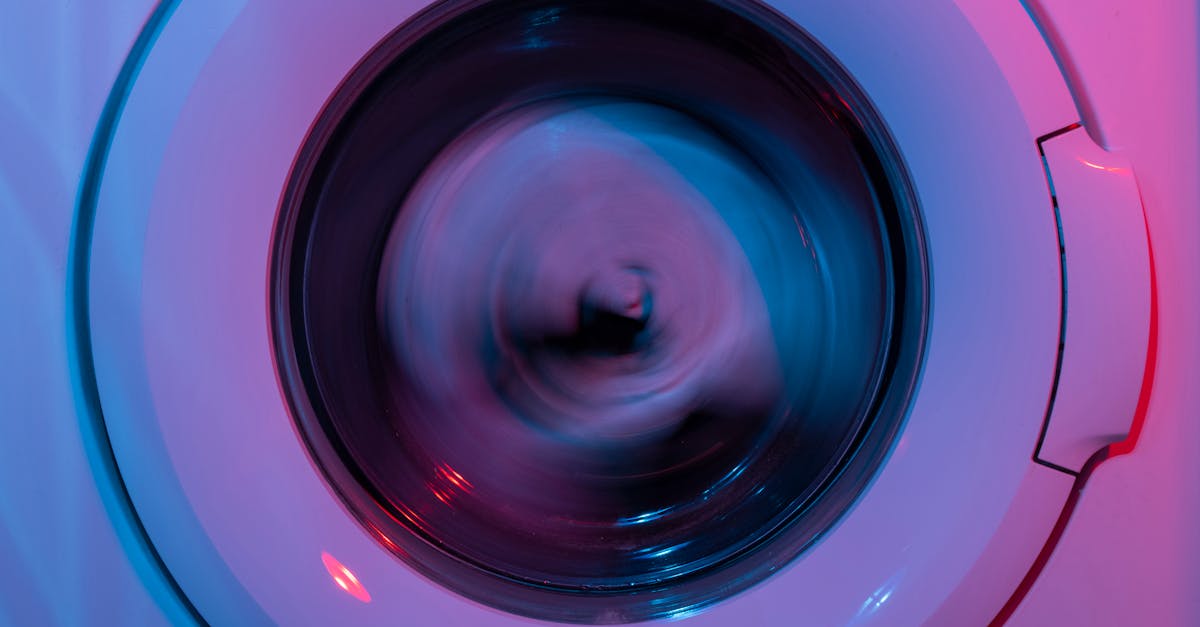
How to Check and Replace a Faulty Drum Motor
Table Of Contents
Diagnosing Electrical Problems
Electrical issues can manifest in various ways within a drum motor. Symptoms may include failure to start, unexpected shutdowns, or unusual noises during operation. Identifying the root cause of these problems is essential for effective troubleshooting. Begin by checking the power supply, ensuring that the motor is receiving the correct voltage, and inspecting all connections for signs of wear or damage. Loose or corroded connections can significantly affect performance and need immediate attention.
Another critical step involves visual inspections and testing components for continuity. Look for frayed wires or burnt-out terminals that may indicate a short circuit or other failures. A multimeter can be a valuable tool for testing components such as switches, relays, and the motor windings. By methodically examining each element, it becomes easier to pinpoint faults and proceed to repair or replacement as necessary.
How to Use a Multimeter for Testing
A multimeter is an essential tool for diagnosing electrical issues with a drum motor. Begin by ensuring the multimeter is set to the appropriate mode for measuring resistance, typically indicated by the Ω symbol. Disconnect the motor from the power source to avoid any electrical shock. Place one probe on each terminal of the motor. A reading close to zero indicates a short circuit, whereas a reading of infinity suggests an open circuit. A reading within the specified range usually indicates that the motor’s winding is intact.
To check the voltage supply to the drum motor, switch the multimeter to the AC voltage setting. Connect the probes to the power source terminals while the motor is powered on. This test is crucial to determine if the motor is receiving the correct voltage for operation. A reading lower than the rated voltage may suggest a problem with the power supply or connections. If discrepancies occur, further investigation of the wiring and connections will be necessary to ensure the motor functions effectively.
How to Remove a Drum Motor
To begin the removal process, ensure that the power supply to the equipment is switched off. Disconnect the electrical connections attached to the drum motor; this typically involves untwisting or unclipping wires. Once the motor is free from its power source, check for any retaining screws or brackets that secure the motor in place. Carefully remove these fasteners using the appropriate tools, taking care not to damage any surrounding components.
After removing the fasteners, gently pull the drum motor out from its mount. It may be necessary to wiggle it slightly to free it from any remaining grips or alignment pins. Ensure that no other components are in the way during this process. If the motor seems stuck, double-check for any overlooked screws or connections. Once the motor is fully removed, inspect the area for debris or wear that may need attention before installing a new unit.
Step-by-Step Removal Instructions
Begin by ensuring that the power supply to the appliance is completely disconnected. This step is crucial for your safety when working with electrical components. Remove any necessary panels or covers to gain access to the drum motor. Take note of how the motor is connected to the appliance, as you'll need to replicate this configuration when installing the new motor. It may help to take photos or label wires to simplify reassembly.
Next, carefully detach any mounting screws or brackets holding the drum motor in place. Use the appropriate tools to avoid damaging the motor or surrounding components. Once these are removed, gently pull the motor out of its housing, taking care not to strain any connected wiring. If the motor is stuck, inspect for any additional screws or clips that may not be immediately visible. Once fully detached, you can proceed to set aside the old motor for replacement.
Selecting the Right Replacement Drum Motor
When looking for a suitable replacement for a faulty drum motor, several factors come into play. First, it's essential to pay attention to the motor's specifications, such as voltage, horsepower, and RPM. This ensures that the new motor can handle the machine's operational demands without causing strain or failure. Compatibility with the existing equipment should also be verified, as motors may come in various sizes and mounting configurations.
Another critical aspect is the reliability of the manufacturer. Opt for brands known for their quality and durability, as a reputable supplier often provides warranties and support. Reading customer reviews and seeking recommendations can offer insights into the motor's performance in real-world applications. Additionally, consider the cost and any long-term maintenance implications that may arise from choosing a particular model. A balance between quality and budgetary constraints will ultimately result in a sound investment.
Factors to Consider When Choosing a New Motor
When selecting a replacement drum motor, it is essential to assess the motor’s specifications to ensure compatibility with your existing system. Pay close attention to the voltage and wattage ratings, as mismatched electrical requirements can lead to suboptimal performance or even damage to the equipment. The physical dimensions, including mounting points and shaft sizes, must also align with your current setup to facilitate a smooth installation process. Consider any unique features of your original motor, such as built-in thermal protection or speed control options.
Budgetary considerations play a significant role in the selection process as well. While it may be tempting to opt for the least expensive option available, cheaper motors often compromise on quality and durability. Investing in a reputable brand may offer better performance and longevity, ultimately saving costs associated with frequent replacements. Examine warranty options and customer reviews to gauge reliability and understand the experiences of other users.
FAQS
What are the common signs of a faulty drum motor?
Common signs of a faulty drum motor include unusual noises during operation, the drum not turning, overheating, or inconsistent performance.
How can I use a multimeter to test my drum motor?
To use a multimeter, set it to the appropriate setting for measuring resistance or voltage, and then connect the probes to the motor terminals to check for continuity or voltage output, respectively.
What tools do I need to remove a drum motor?
You will typically need tools such as a socket set, screwdrivers, pliers, and possibly a hammer or a pry bar, depending on the model of the equipment you are working on.
How do I know if the replacement drum motor is the right fit?
To ensure the replacement drum motor is the right fit, check the specifications such as size, voltage, horsepower, and mounting type, and compare them with the original motor to ensure compatibility.
Can I replace the drum motor myself, or should I hire a professional?
If you have basic mechanical skills and the right tools, you can replace the drum motor yourself by following the instructions carefully. However, if you're unsure or uncomfortable, it's best to hire a professional.
Related Links
Resetting Your Washing Machine to Resolve Drum Spin IssuesTroubleshooting Unusual Noises When the Drum Fails to Spin
Identifying Electrical Problems That Affect Drum Spin Performance
The Impact of Load Balance on Washing Machine Drum Functionality
Understanding the Role of the Drive Belt in Drum Spin Problems
Tips for Preventing Drum Malfunctions in Your Washing Machine
How to Fix a Washing Machine Drum That Won't Spin Properly
Common Signs of Drum Issues in Washing Machines